PSA Online Appointment Easy Booking Guide, Requirements & Fees (2026)
Book your PSA appointment online with our simple step-by-step guide. Learn the latest requirements, fees, processing times, and common booking solutions all in one place.
How to Book a PSA Online Appointment: Step-by-Step Guide
Follow the instructions below to complete your PSA online appointment. Each step is explained clearly to help you navigate the process with ease.
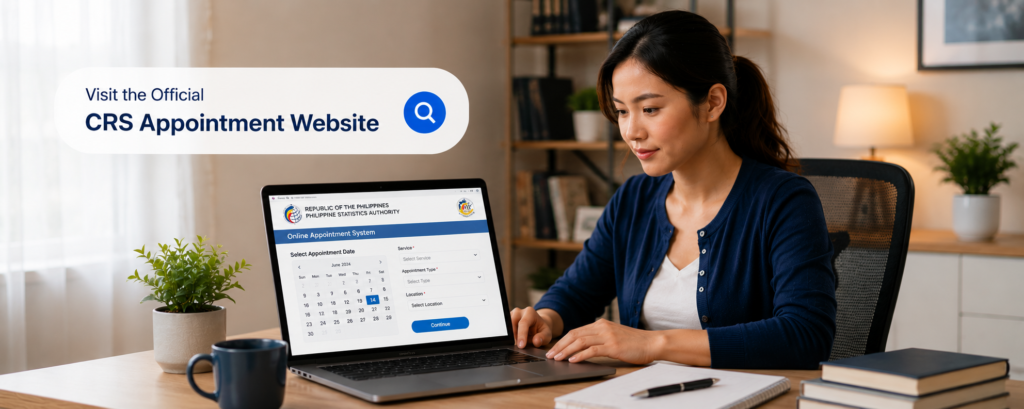
Step 1 — Access the Official PSA Appointment Portal
Launch your preferred web browser (such as Google Chrome, Microsoft Edge, Firefox, or Safari) and open the official PSA Online Appointment portal. This is where you can schedule your visit and access all available appointment services.
Step 2 — Start Your Appointment Request
On the homepage, locate the “Book Appointment” button. Click it to begin the online appointment process and move to the next screen.

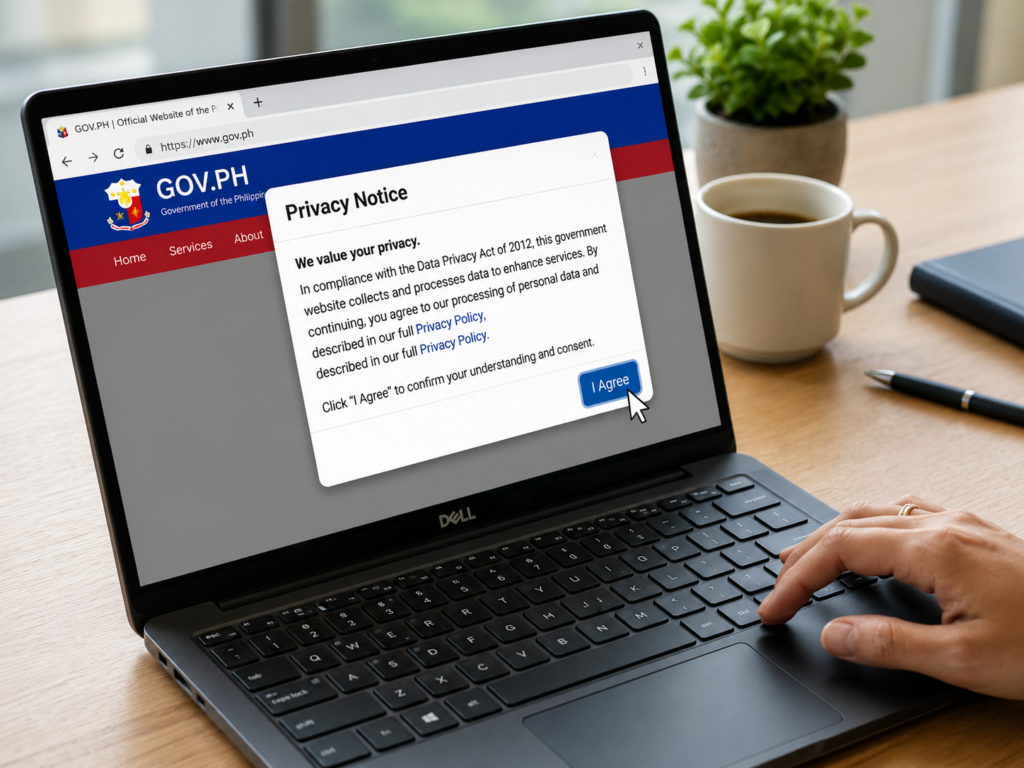
Step3 — Accept the Privacy Policy
Before continuing, you’ll be asked to review the Privacy Notice. Read the information carefully to understand how your personal data is handled. When you’re ready, click “I Agree”.
Step 4 — Review the Appointment Guidelines
Important reminders and instructions will be displayed. Read each point to avoid common booking mistakes. After reviewing everything, click “Next” to continue.
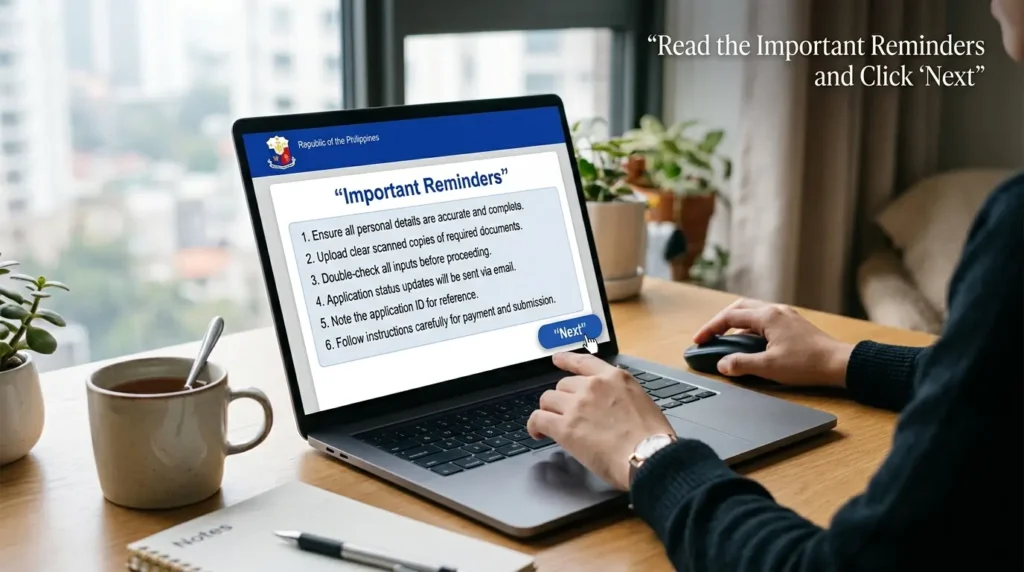
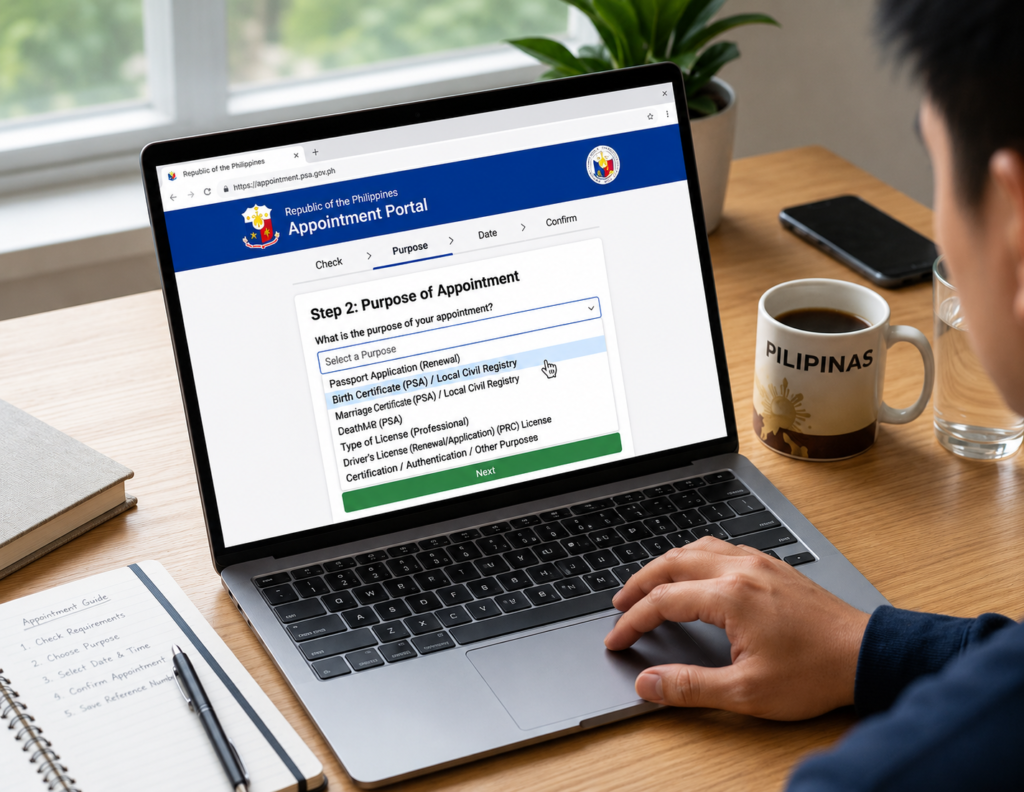
Step 5 — Choose Your Appointment Purpose
Select the reason for your visit from the available options in the dropdown menu. Make sure you choose the correct service before clicking “Next”.
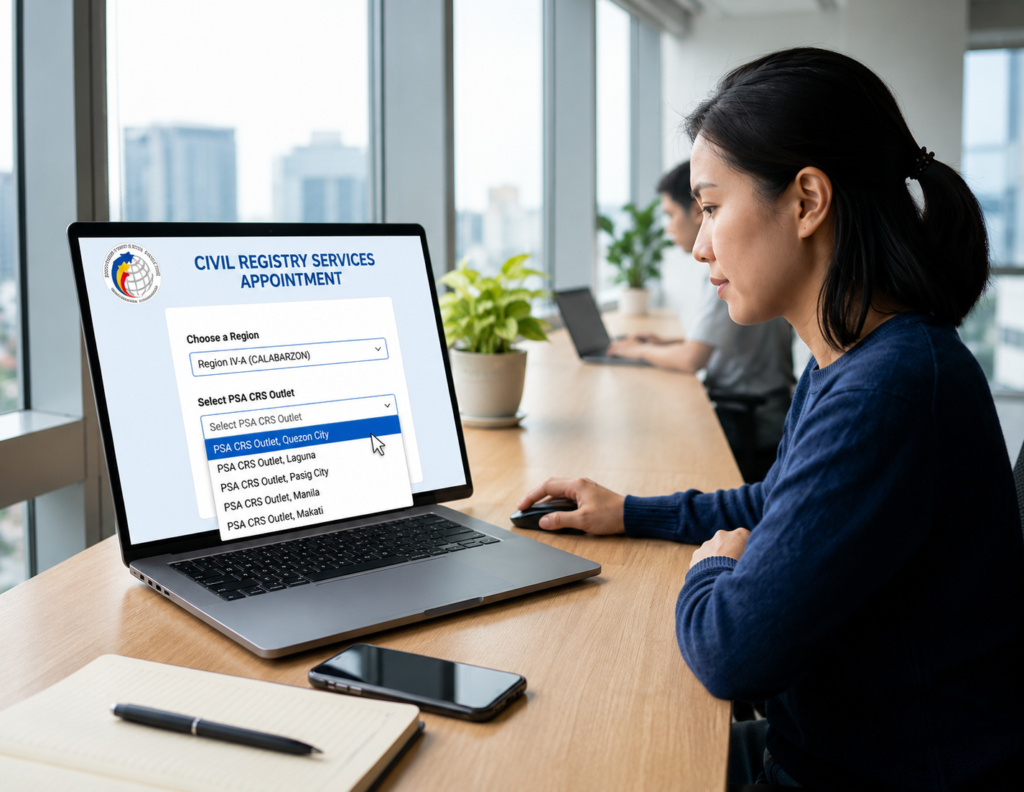
Step 6 — Select Your Region & PSA Outlet
Choose your region first, then select the nearest PSA CRS Outlet where you want to process your request. Selecting the correct location ensures accurate appointment availability.
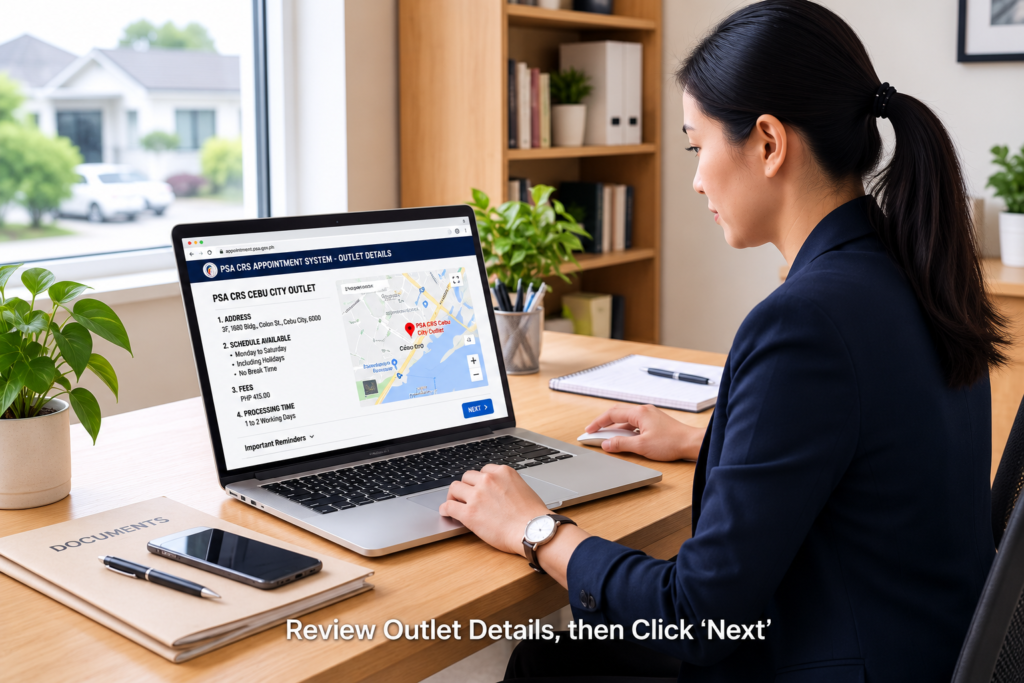
Step 7 — Confirm Your Selected PSA Branch
Review the branch information, including its address, map location, available services, processing time, and applicable fees. Once you’ve verified the details, click “Next”.
Step 8 — Provide Your Personal Information
Enter your complete personal details, including:
- First Name
- Middle Name
- Last Name
- Email Address
- Mobile Number
Ensure your name matches your valid government-issued ID exactly. Accept the declaration and continue by clicking “Next”.
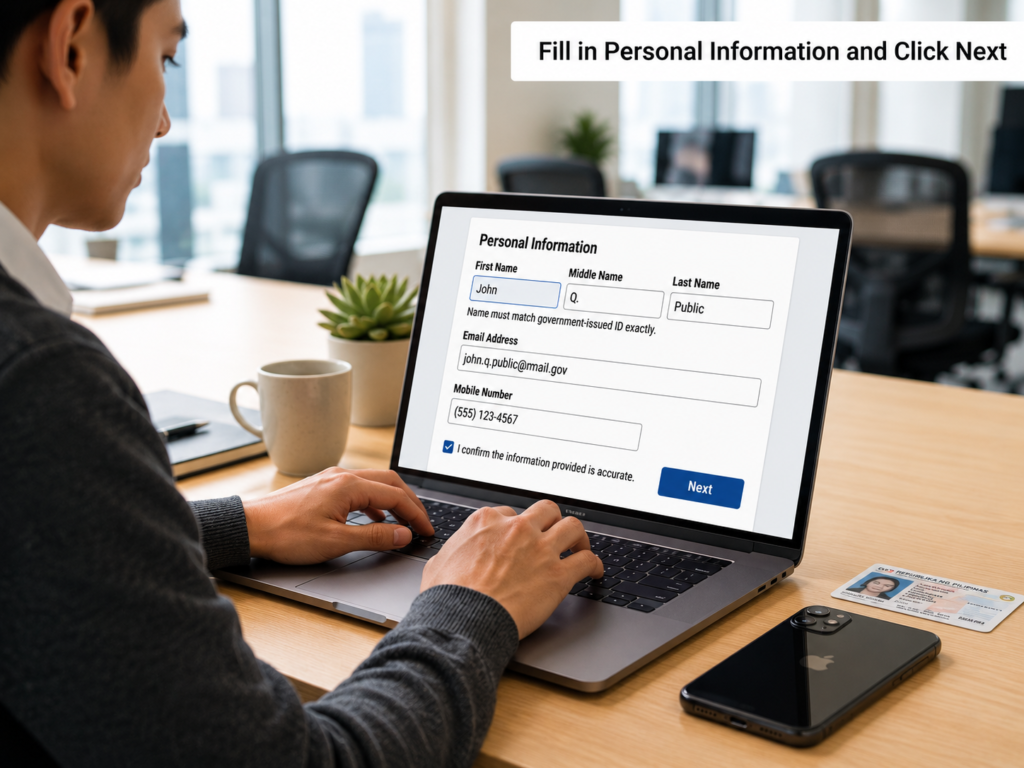
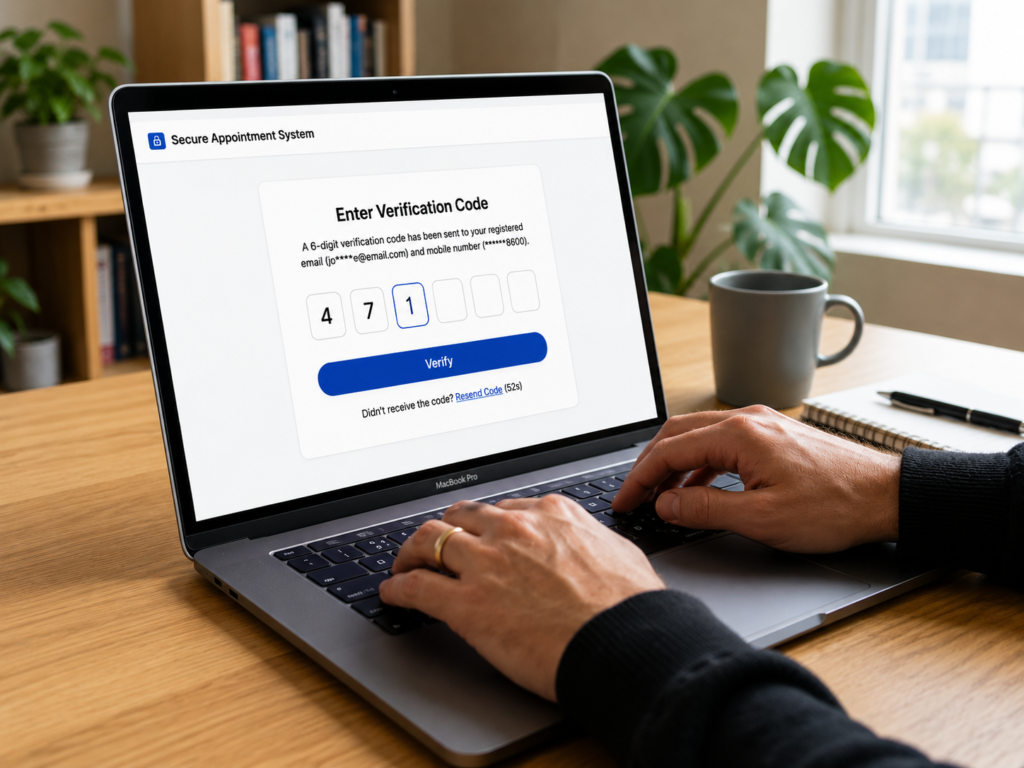
Step 9 — Verify Your Account with OTP
A 6-digit verification code will be sent to your registered email address or mobile number. Enter the code in the verification field and click “Verify” to proceed.
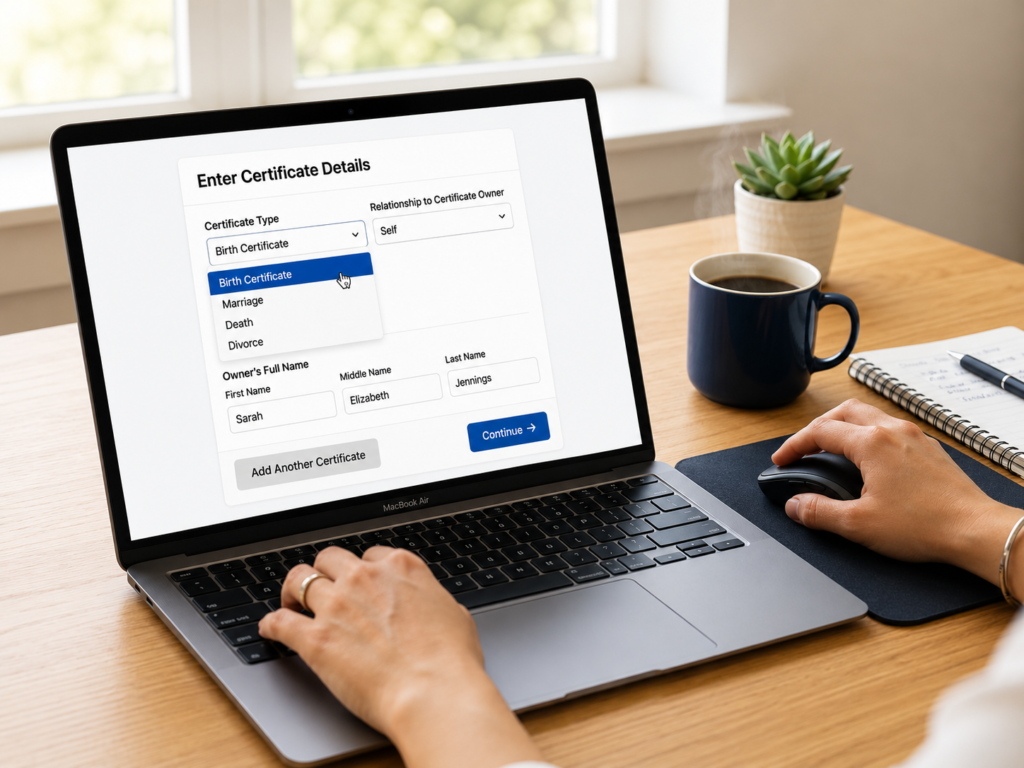
Step 10 — Enter Certificate Information
Choose the certificate you want to request and provide the required information, including your relationship to the certificate owner.
If you’re requesting your own document, simply choose “Self”.
Need multiple certificates? Use the “Add Another Certificate” option before continuing.
Important: If another person will attend the appointment on your behalf, enter that person’s information where required.
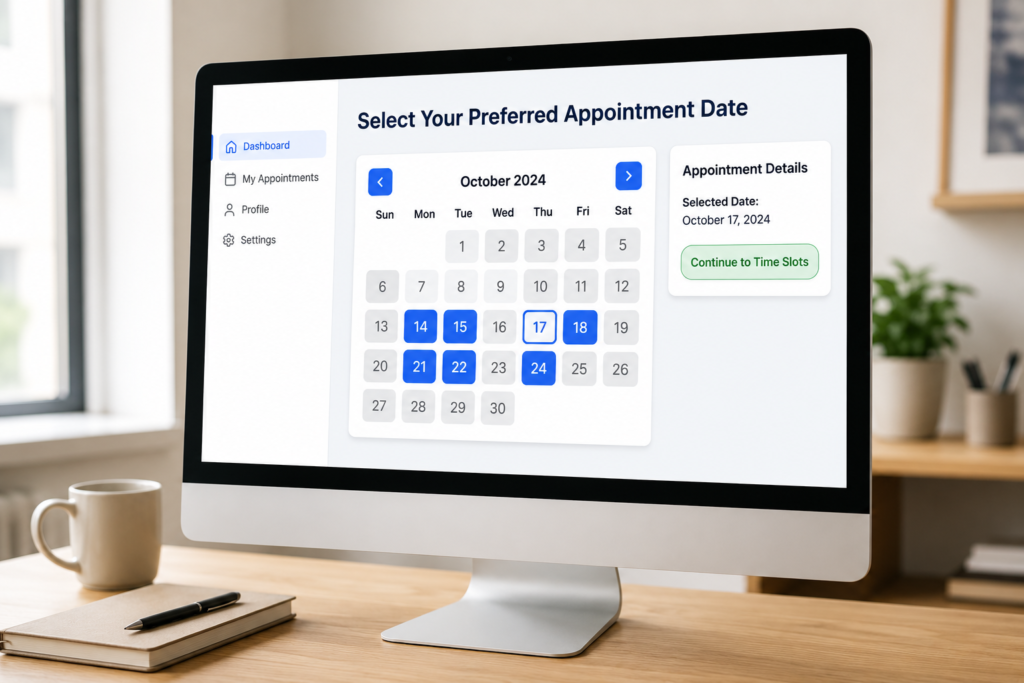
Step 11 — Pick Your Appointment Date
Choose your preferred appointment date from the available calendar.
- 🟦 Blue dates = Available
- ⬜ Gray dates = Fully booked
Select a convenient available date to continue with your booking.
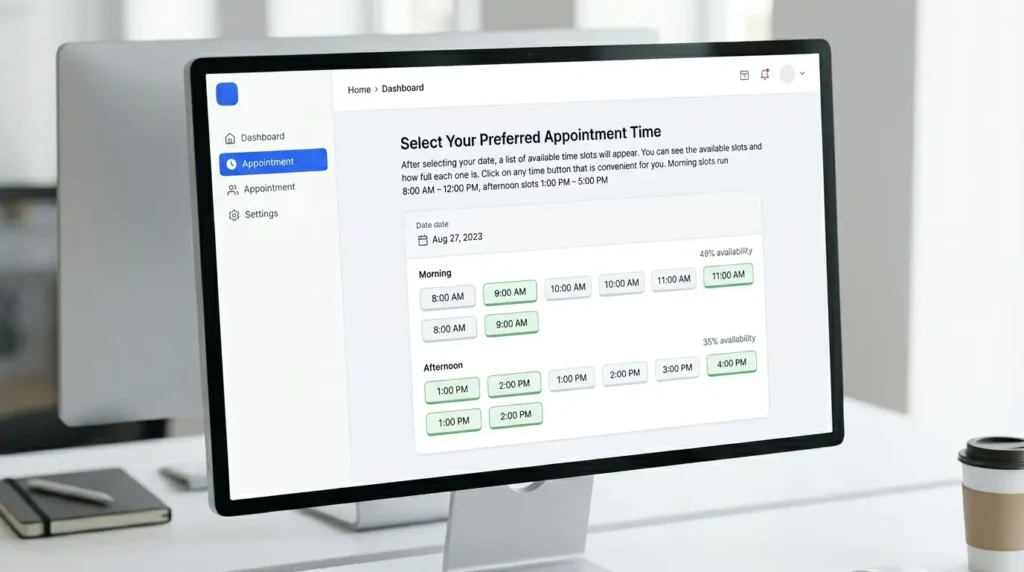
Step 12 — Choose Your Preferred Appointment Time
After selecting your appointment date, the system will display all available time slots for that day. Choose the time that best fits your schedule. Available slots are updated in real time, so select your preferred option before continuing.
Typical Office Hours
- 🌅 Morning Session: 8:00 AM – 12:00 PM
- 🌇 Afternoon Session: 1:00 PM – 5:00 PM
Once you’ve selected your preferred time, click “Next” to proceed.
✅ Step 13 — Review and Confirm Your Appointment
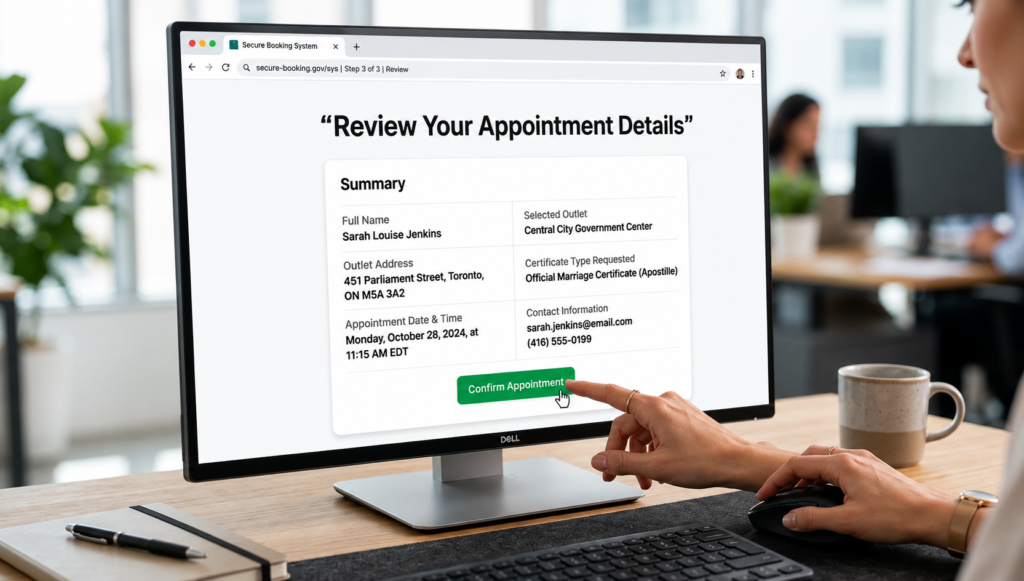
Before submitting your request, carefully review all the information displayed on the confirmation page.
Make sure the following details are correct:
- 👤 Full Name
- 🏢 Selected PSA CRS Outlet
- 📍 Branch Address
- 📅 Appointment Date
- 🕒 Appointment Time
- 📄 Certificate Requested
- 📧 Email Address
- 📱 Mobile Number
If everything looks accurate, click “Confirm Appointment” to complete your booking.
Tip: Double-check your contact details to ensure you receive all appointment updates.
Step 14 — Appointment Successfully Booked
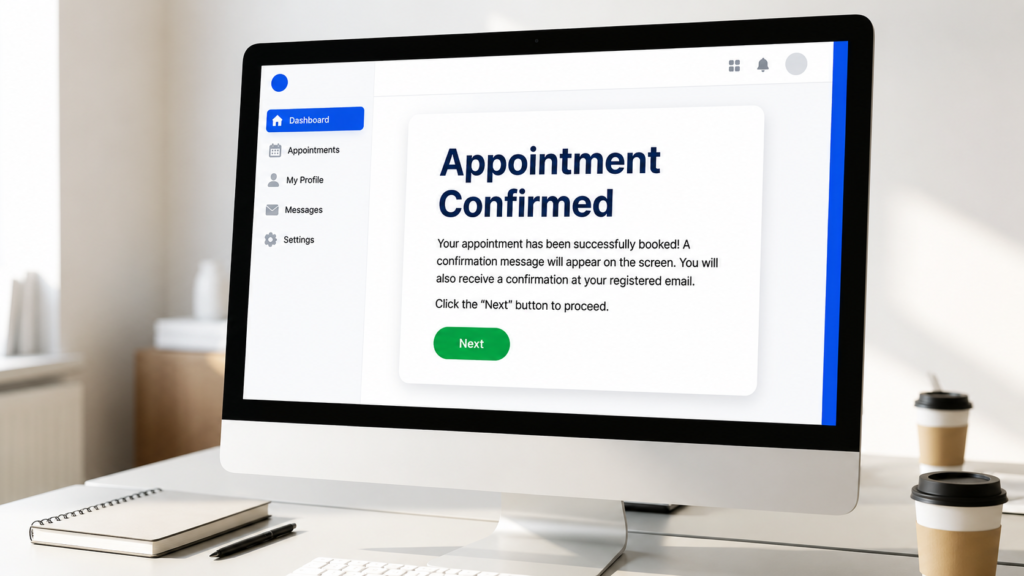
Congratulations! Your PSA Online Appointment has been successfully scheduled.
A confirmation screen will appear, and a confirmation email will be sent to your registered email address with your appointment details.
Click “Next” to continue.
💡 Helpful Tip:
If you don’t receive the confirmation email within a few minutes, check your Spam, Junk, or Promotions folder. If no confirmation is found, you may need to create a new appointment because your booking may not have been completed successfully.
Step 15 — Download and Print Your Appointment Slip
Your PSA Appointment Slip will now be available for download.
The appointment slip includes:
- 📄 Appointment Reference Details
- 📅 Appointment Date & Time
- 🏢 Selected PSA CRS Outlet
- 🔳 QR Code for Verification
- 📑 Required Application Forms (if applicable)
Download the appointment slip and print a copy before your scheduled visit.
Important: Bring your printed appointment slip along with a valid government-issued ID when visiting the PSA office. This helps ensure a faster and smoother verification process.
What Is the PSA Online Appointment System?
The PSA Online Appointment System is an official online scheduling service that helps individuals book an appointment before visiting a PSA Civil Registration Service (CRS) outlet. Through this system, users can choose a preferred date, time, and service location without having to wait in long walk-in lines.
The platform was introduced to make the appointment process more organized, convenient, and efficient. Instead of spending hours waiting at a PSA office, applicants can secure a confirmed schedule in advance and visit the outlet at their assigned time.
One of the biggest advantages of the system is that booking an appointment is completely free. Applicants only need to pay the applicable certificate fees during the processing of their request, depending on the service they are availing.
To avoid delays or inconvenience, visitors should always secure a confirmed appointment before going to a PSA outlet. Most service locations prioritize scheduled applicants and require proof of a valid appointment during entry and verification.
💡 Tip: Always use the official PSA appointment portal at appointment.psa.gov.ph and save it for future use. Booking an appointment through the official website is completely free. Be cautious of unofficial third-party websites or individuals that charge fees simply to submit an appointment request, as this service is provided by the government at no cost.
110M+
Filipino Records Managed
₱0
Booking Fee, Completely Free
<10 min
To Complete Your Booking
How to Book a PSA Appointment Online: 7 Simple Steps
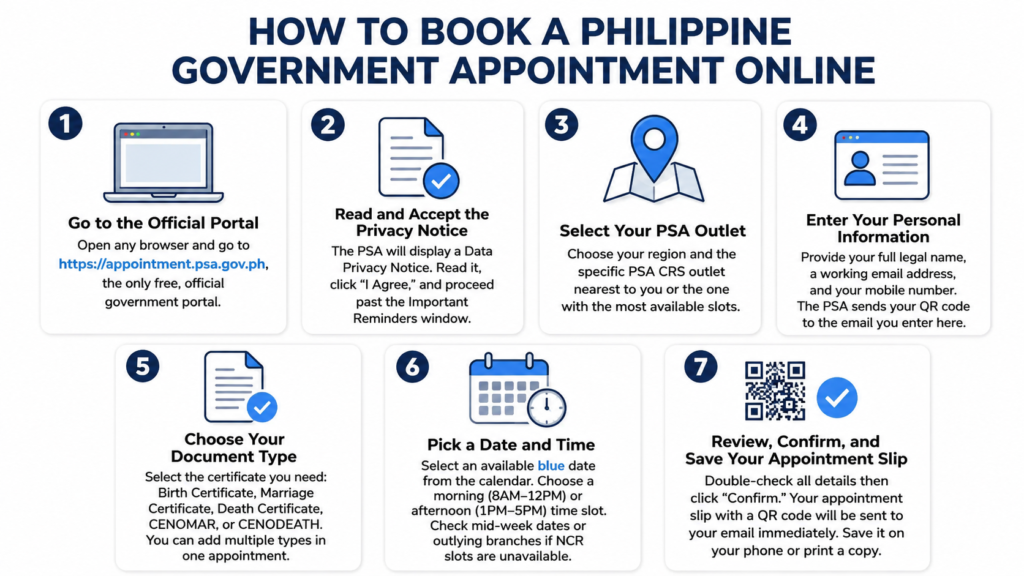
Booking a PSA appointment is quick and straightforward. The entire process can usually be completed in just a few minutes using any computer, tablet, or smartphone—no app installation required.
1. Visit the Official PSA Appointment Website
Open your preferred web browser and access the official PSA appointment portal. This is the only authorized platform for scheduling a PSA appointment online.
2. Review the Privacy Notice
Before proceeding, read the Data Privacy Notice and other important reminders provided by the system. Once you understand the information, accept the terms to continue.
3. Choose Your Preferred PSA Outlet
Select your region and then choose the PSA CRS outlet where you would like to process your request. You may choose the location that is most convenient or has available appointment slots.
4. Provide Your Personal Details
Enter the required information, including your full name, active email address, and mobile number. Make sure all details are accurate, as your appointment confirmation will be sent to the contact information you provide.
5. Select the Certificate or Service Needed
Choose the document you wish to request, such as a Birth Certificate, Marriage Certificate, Death Certificate, CENOMAR, or other available civil registry services. Depending on the system’s options, multiple requests may be included in a single appointment.
6. Schedule Your Appointment Date and Time
Browse the available dates and select a suitable appointment schedule. Choose the time slot that best fits your availability and proceed to the next step.
7. Confirm Your Appointment and Save the Details
Carefully review all information before submitting your request. Once confirmed, you will receive an appointment confirmation containing important details and a reference number or QR code. Save a copy on your device or print it for easy access on your appointment day.
What to Bring to Your PSA Appointment
To avoid delays on your appointment day, make sure you have all the required documents and information ready before visiting your selected PSA outlet.
For Personal Applications
Bring the following items:
✅ Appointment Confirmation
- Printed appointment slip or a digital copy on your phone
- Make sure the QR code is clearly visible
✅ Valid Government-Issued ID
- Passport
- Driver’s License
- PhilSys National ID
- UMID Card
- PRC ID
- Voter’s ID
- Or any other PSA-accepted identification document
✅ Payment for Certificate Fees
- Bring sufficient funds for the document you are requesting
- Cash payment is commonly accepted at most PSA outlets
✅ Application Form
- Complete the required application form if applicable
- Some locations may provide the form on-site
If You Are Applying as an Authorized Representative
In addition to the requirements above, prepare the following:
✅ Authorization Letter
- A signed authorization letter from the document owner
✅ Copy of the Owner’s Valid ID
- Clear photocopy or printed copy of their identification
✅ Your Own Valid ID
- Original government-issued identification for verification
Important Reminders
⚠️ Double-check all information before your appointment date.
⚠️ Arrive a few minutes early to allow time for verification and processing.
⚠️ Requirements and policies may vary depending on the PSA outlet and the type of document requested.
lagega.
PSA Appointment vs. PSA Document Delivery: Which Option Is Best for You?
The Philippine Statistics Authority provides two convenient ways to obtain civil registry documents. You can either visit a PSA outlet through an online appointment or request home delivery through an authorized delivery service. The best option depends on your urgency, location, and personal preference.
| Feature | PSA Online Appointment | PSA Document Delivery |
|---|---|---|
| Cost | Pay only the applicable certificate fee | Certificate fee plus delivery charges |
| Personal Visit Required | Yes, you must visit a PSA outlet | No, documents are delivered to your address |
| Processing Time | Documents may be obtained during your scheduled visit | Delivery typically takes several business days |
| Best For | Urgent requests and in-person transactions | Individuals who prefer convenience and home delivery |
| Appointment Needed | Yes | No |
| Eligible Requesters | Document owner, qualified relatives, or authorized representatives | Subject to delivery service requirements |
Choose a PSA Online Appointment If:
✅ You need your document as soon as possible.
✅ You prefer handling the request in person.
✅ You are processing a request that requires additional verification or supporting documents.
✅ You are acting on behalf of someone else with the required authorization.
Choose PSA Document Delivery If:
✅ You want to avoid traveling to a PSA outlet.
✅ You live far from a PSA CRS office.
✅ You prefer receiving your documents at home or another designated address.
✅ Convenience is more important than same-day processing.
Tip: If you need your document urgently, an in-person PSA appointment is usually the better option. If convenience is your priority, document delivery can save time and travel expenses.
Special Situations for PSA Online Appointments
While the standard appointment process works for most applicants, some groups may have additional requirements or special considerations before booking a PSA appointment.
Overseas Filipinos (OFWs)
Filipinos living or working abroad may encounter limitations when using the online appointment system, especially if local contact information is required during registration. In many cases, a trusted family member or authorized representative in the Philippines can assist with the application and document retrieval process, provided the necessary authorization documents are available.
Applicants outside the country may also explore available document delivery services for a more convenient option.
Senior Citizens and Persons with Disabilities (PWDs)
PSA outlets provide assistance and priority services for senior citizens and persons with disabilities. Upon arrival, present a valid Senior Citizen ID or PWD ID to receive the appropriate accommodation.
However, applicants should still secure an appointment in advance whenever required by their chosen PSA outlet. Priority assistance does not automatically replace the appointment process.
National ID (PhilSys) Transactions
The PSA Online Appointment System is primarily intended for civil registry services such as Birth Certificates, Marriage Certificates, Death Certificates, and CENOMAR requests.
For National ID (PhilSys) registration, updates, or related concerns, applicants should follow the procedures provided through the official PhilSys program, as these services may use a different registration and appointment process.
Important: Before booking an appointment, always verify that you are using the correct system for the service you need. Civil registry requests and National ID transactions may follow different procedures and requirements.
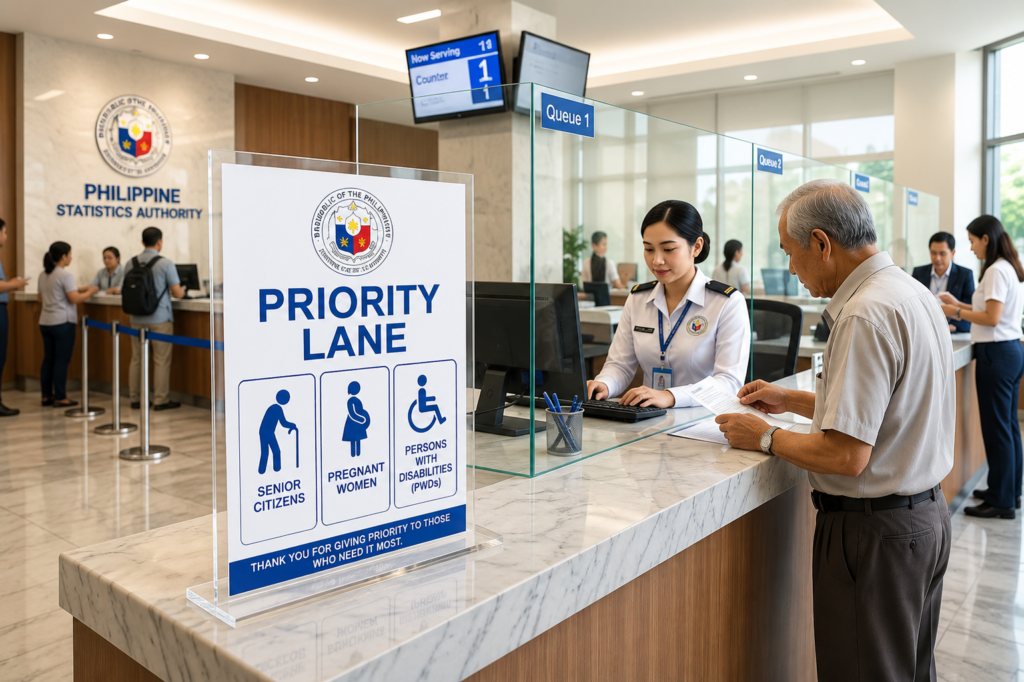
No Available PSA Online Appointment Slots? Here’s What You Can Do
PSA Online Appointment: What to Do When No Slots Are Available
Finding an available PSA Online Appointment can be challenging, especially during peak periods when thousands of applicants are booking schedules for birth certificates, marriage certificates, death certificates, and CENOMAR requests. If the appointment portal shows no available slots, don’t worry—there are several ways to improve your chances of securing a schedule.
Check Other PSA Appointment Outlets
Some PSA branches receive significantly more bookings than others. High-demand outlets in Metro Manila, such as East Avenue and Mandaluyong, often reach full capacity quickly. If your preferred branch has no available schedule, search for a PSA Online Appointment at nearby outlets such as Valenzuela, Parañaque, or provincial PSA offices.
Check the PSA Appointment Portal During Off-Peak Hours
The PSA Online Appointment System updates slot availability regularly. New schedules may become available when additional slots are released or when existing appointments are canceled. Many applicants report better results when checking the portal early in the morning or later in the evening.
Look for Mid-Week Appointment Dates
When booking a PSA Online Appointment, Tuesdays, Wednesdays, and Thursdays often have better availability than Mondays and Fridays. Choosing a mid-week schedule may help you find an open appointment sooner.
Consider Booking at a Nearby Branch
All PSA outlets issue the same official civil registry documents. If your local branch is fully booked, you can complete your PSA Online Appointment at another nearby city or province. While travel may be required, it can help you obtain your documents faster.
Common PSA Online Appointment Errors and How to Fix Them
The following issues are commonly encountered during the PSA Online Appointment booking process:
| Issue | Possible Cause | Solution |
|---|---|---|
| OTP not received | Incorrect mobile number or network delay | Wait a few minutes, verify your number, and request a new OTP |
| No available appointment slots | Selected PSA outlet is fully booked | Check other branches or return later for updated schedules |
| Confirmation email not received | Email address entered incorrectly or message sent to spam | Check your spam folder and verify the email address used during booking |
| QR code cannot be scanned | Low image quality or insufficient screen brightness | Increase screen brightness or bring a printed copy of the QR code |
Tips for Successfully Booking a PSA Online Appointment
- Check appointment availability several times throughout the day.
- Be flexible with your preferred PSA outlet and appointment date.
- Keep your mobile number and email address active for verification and updates.
- Complete your booking as soon as you find an available slot to avoid losing it to another applicant.
By following these tips, you can increase your chances of securing a PSA Online Appointment even when appointment slots appear fully booked.
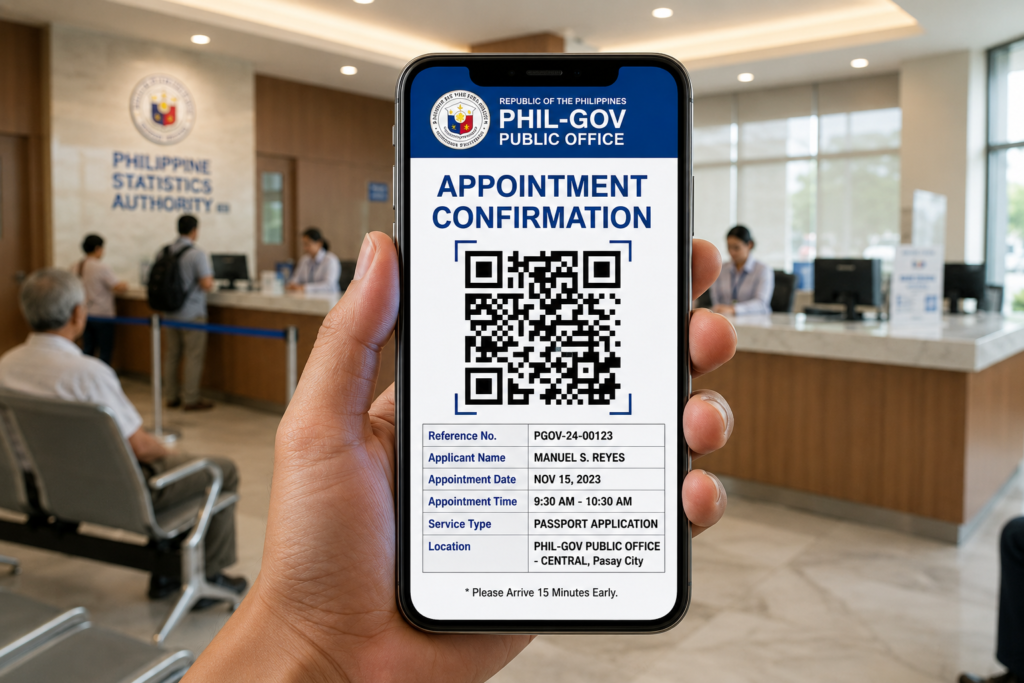
How the PSA Appointment QR Code Works
Once your PSA Online Appointment is successfully confirmed, the system generates a unique PSA appointment QR code linked to your booking details. This QR code contains important information such as your name, requested document, selected PSA outlet, and scheduled appointment date and time.
When you arrive at the PSA branch, staff will scan the QR code to verify your appointment and identity. This helps speed up the check-in process and reduces the need for manual verification.
Is the PSA QR Code Transferable?
No. The PSA appointment QR code is strictly personal and can only be used by the individual who made the booking. It is valid only for the selected branch, appointment date, and scheduled time. Sharing, transferring, or attempting to reuse a QR code may result in your appointment being rejected.
Tips for Keeping Your QR Code Safe
To avoid delays on your appointment day:
- Save a screenshot of your QR code on your phone.
- Keep a copy of the confirmation email for easy access.
- Consider printing the QR code as a backup.
- Make sure your device is charged before visiting the PSA outlet.
What If You Lose Your QR Code?
If you cannot find your confirmation email or QR code, contact the PSA support team as soon as possible. Be prepared to provide the email address and mobile number used during your PSA Online Appointment booking so they can help locate your reservation details.
Need to Correct Information on Your PSA Record?
After receiving your document, you may notice errors such as a misspelled name, incorrect birth date, or other inaccurate civil registry information. In such cases, you may need to begin the PSA birth certificate correction process to request the necessary amendments to your official records.
Documents Available Through PSA Online Appointment
PSA Certificates You Can Request Through the PSA Online Appointment System
The PSA Online Appointment System allows applicants to request several official civil registry documents issued by the Philippine Statistics Authority. These certificates are commonly required for government transactions, employment, education, travel, and legal purposes.
Birth Certificate
Fee: ₱155.00
The PSA Birth Certificate is the most frequently requested document. It is commonly required for passport applications, school enrollment, employment requirements, government services, and identity verification.
Marriage Certificate
Fee: ₱155.00
A PSA Marriage Certificate serves as official proof of marriage and is often needed for surname changes, visa applications, insurance claims, and various legal transactions.
Death Certificate
Fee: ₱155.00
The PSA Death Certificate is required for processing insurance benefits, settling estates, closing bank accounts, claiming pensions, and other legal matters following a person’s death.
CENOMAR (Certificate of No Marriage Record)
Fee: ₱210.00
A CENOMAR certifies that an individual has no recorded marriage in the PSA database. It is commonly required when applying for a marriage license, employment abroad, or certain immigration processes.
CENODEATH (Certificate of No Death Registration)
Fee: ₱210.00
A CENODEATH confirms that no death record exists for a specific individual in the PSA civil registry. This document may be requested for legal, administrative, or record-verification purposes.
Documents Not Available Through the PSA Online Appointment System
Some civil registry services cannot be processed through the standard PSA Online Appointment platform. These include PSA-certified copies involving court-ordered corrections, late registrations, and other special cases that require additional verification. Applicants must visit the appropriate PSA regional or designated office to complete these transactions.
Before Booking Your PSA Online Appointment
Before scheduling your appointment, make sure you know which certificate you need and prepare any supporting information required for the request. This helps ensure a faster and smoother experience at your selected PSA outlet.
Frequently Asked Questions About PSA Online Appointment
Find answers to the most common questions about PSA Online Appointment, certificate fees, appointment schedules, requirements, and other important concerns.
Is the PSA Online Appointment Really Free?
Yes. Booking a PSA Online Appointment through the official appointment system is completely free. You only pay the applicable certificate fee at the PSA outlet:
₱155 per copy for Birth, Marriage, and Death Certificates
₱210 per copy for CENOMAR and CENODEATH
Be cautious of websites or individuals charging additional “booking fees,” as appointment scheduling itself does not require payment.
What Happens If I Miss My PSA Appointment?
If you fail to attend your scheduled appointment, your reservation may be forfeited. You will typically need to book a new PSA Online Appointment and select another available date and time.
Can I Book a PSA Appointment for Someone Else?
Yes. You may assist a family member or authorized representative with the booking process. However, the appointment details must accurately match the information of the person requesting the certificate, and valid identification may be required during the appointment.
How Far in Advance Can I Book a PSA Appointment?
Appointment availability depends on the selected PSA outlet and current demand. Many branches allow bookings several days or weeks in advance, so it is recommended to secure your PSA Online Appointment as early as possible.
What Is the Difference Between NSO and PSA Certificates?
The National Statistics Office (NSO) was reorganized into the Philippine Statistics Authority (PSA). Documents previously issued by the NSO remain valid in most cases, while newly issued civil registry documents are released under the PSA name and security paper format.
Ready to Book Your PSA Online Appointment?
The process takes less than 10 minutes. Booking is completely free. Start now using the official PSA appointment portal.
📅 Go to appointment.psa.gov.ph